40+ Transformational Tips for Styling Your Interior Design Photoshoots
Oct 11, 2025We recently welcomed stylist Sam Grigg into Hothouse for a masterclass on styling for interior design photography. You can watch the full webinar here on YouTube (with images of Sam’s work).
This session was a revelation, with many of us realising we’d underestimated the incredible value of having a stylist on a shoot. In fact, several designers who had no plans to hire one have since taken the plunge. The impact on the quality and longevity of your imagery is huge, and as Sam proved, styling is as much art direction as it is arranging cushions.
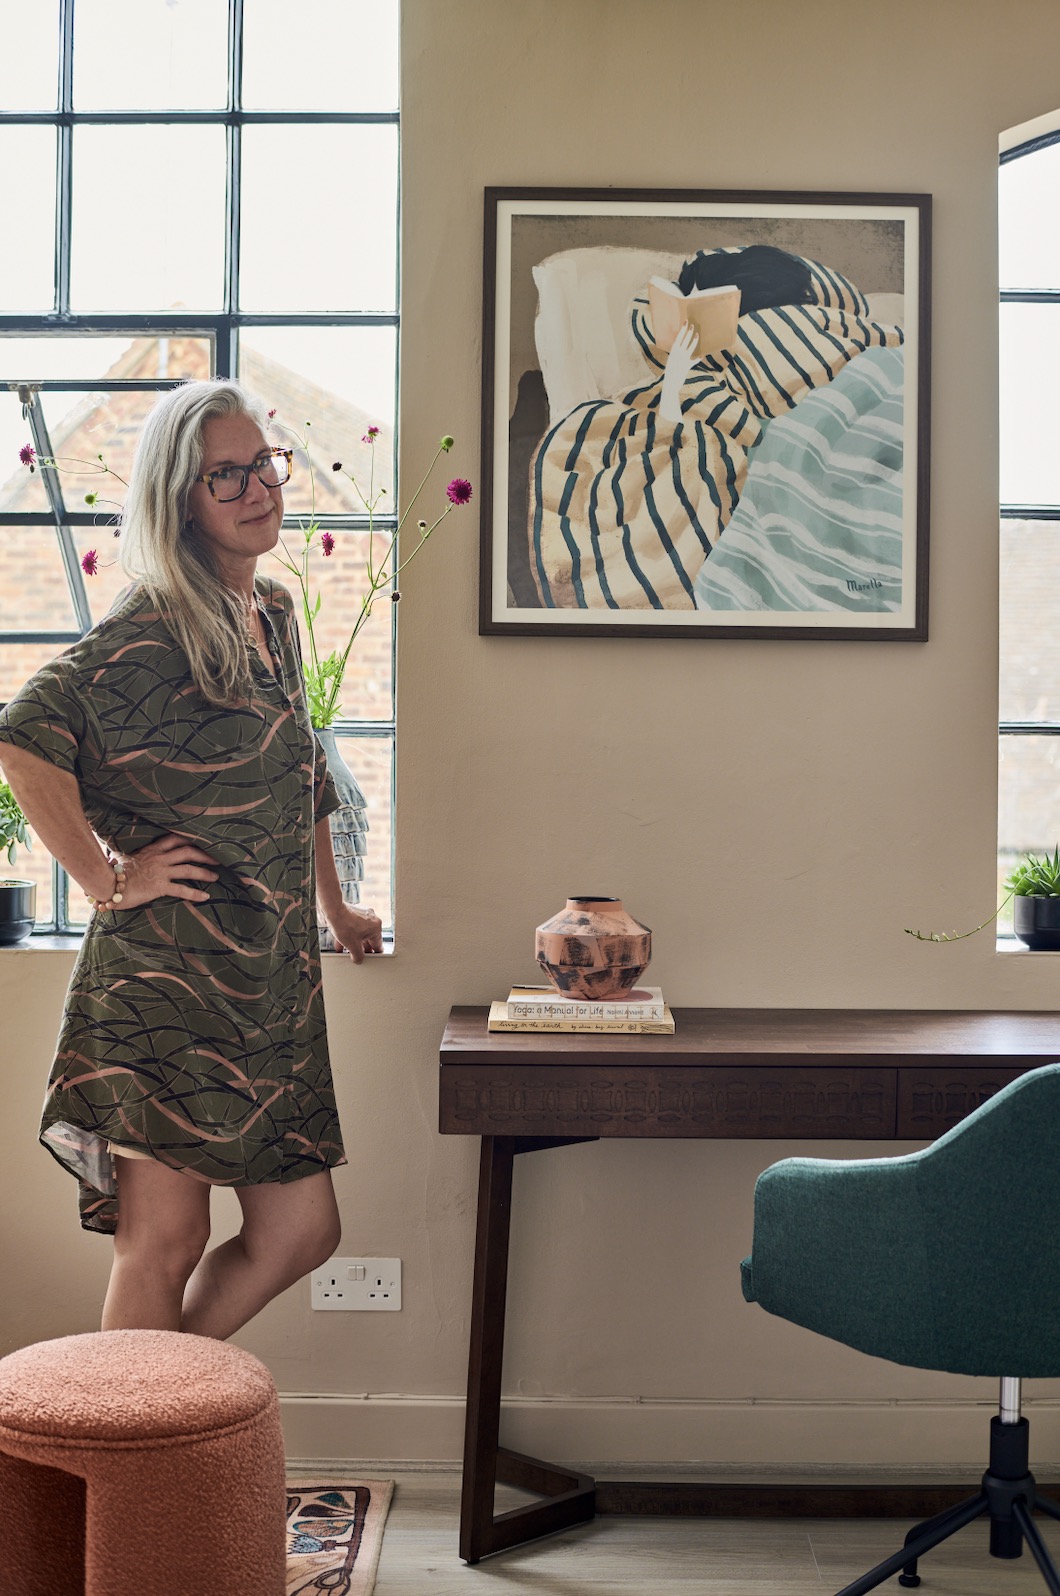 When Sam styles, she’s making art.
The experience has helped me view interiors photography with new eyes, I can't help but notice now where the absence of a stylist on a shoot has been a real missed opportunity.
If you still need persuading, here are Sam’s top styling tips, organised into clear categories to make your next shoot more polished, powerful, and professional.
General Styling and Art Direction Tips
- Vary the Shots: When setting up a project shoot, think about the type of shots you want and have a balance of different types of shots from pulled back to tight to overhead to midshots. This variety makes the set of pictures more interesting and more likely to be used by a magazine.
- Focus on Detail: Look for lovely tight detail shots, such as focusing on the texture of a Roman blind next to a headboard.
- Create Visual Moments: Look for interesting vignettes and moments within an image so that it looks and feels human, creative, and artistic.
- Guide the Eye: Ensure there are moments - focal points within the frame where the eye can move around the image.
- Use Negative Space: Ensure there is enough negative space within the room so that it doesn't feel too cluttered.
- Check Flow: Check that the colours are flowing together.
- Think Artistically: Approach styling by thinking more like a painter, composing and framing your shot.
- Use Height in Groupings: Create lovely groups with different heights of objects.
- Place Objects in the Foreground: Not everything needs to be at the back of the shot; put something in the foreground (e.g., an accent chair) because it gives the image a bit more "oomph" and makes the shot feel more dynamic.
- Add Quirk: Introduce a little bit of quirk and twist to the styling.
- Prioritise Timelessness: Avoid seasonal styling (like Christmas decorations) as it has a short window for use. Similarly, avoid anything that feels like it is very much a current trend (e.g., striped candles) because you want the imagery to last a long time. Instead, use classic, beautiful shapes.
Prop Selection and Usage Tips
- Create Intentionality: Styling should be more intentional to create a feeling that someone has just been in the room, rather than relying on lazy styling clichés (like discarded sneakers).
- Choose Foliage Over Flowers: Never bring bunches of flowers. Always just use lovely foliage. Use simple foliage like a gorgeous bunch of eucalyptus with a couple of stems thrown in, or a few lovely stems that make a really lovely shape.
- Use Dried Plants: I always travel with a massive bunch of different dried flowers or dried grasses, as they can look lovely on their own.
- Contextual Plants: If the outside view is visible in the shot, avoid using plants that are obviously not native to the area (e.g., don't use a tropical flower when shooting in the English countryside, and when evidence of the English countryside is in shot).
- Avoid Cliché Food Props: Avoid cliché props like a bowl of lemons or a carton of strawberries. Instead, use alternative aesthetic items like a stack of beautiful old wooden breadboards, books or magazines.
- Always Bring Props (Volume): Always be prepared and turn up with a car load of stuff. You should have choice, so turn up with a selection of things, not just one or two objects.
- Include Key Prop Types: Key items to include in your styling arsenal are lots of vases, cushions, books (especially coffee table books), magazines, glassware, mugs, and plants.
- Use Vintage Items: Bring in vintage stuff and worn stuff to make the room feel a bit more real.
- Use Filler Objects: Take lots of small filler objects, such as postcards, glass objects, and crystals, as their size works well to create nice groupings.
- Incorporate Storytelling Props: Create a story by using props relevant to the location or context (e.g., an Ordnance Survey map for an Airbnb in the countryside, where many guests will be hikers).
Room Specific Styling Tips
- Bedding Details: Look for pillows that have a nice frill or something interesting (avoid plain pillows). When styling beds, don't just have a plain duvet.
- Cushion Shape: Make sure your cushions have feather inners so that you can plump them into a nice shape as opposed to being "all upright and soldier-like".
- Layering with Throws: Throws are really important for creating that layered look. Aim for a curated looseness in the drape of the throws.
- Books as Props: Use a stack of old vintage books (like Agatha Christie novels) to put them somewhere useful on the shoot.
- Magazines: Bring piles of magazines, do a nice big pile, not too stiffly aligned, and put something on top.
- Bathroom Styling: Add bits and bobs to a bathroom to make it feel a bit more alive (e.g., vases with simple eucalyptus stems). You do not need to make things too obvious by including every single item like a toothbrush holder, soap dispenser, and a stack of towels.
- Hallways: To make a hallway shot interesting, hang a couple of bags or scarves that harmonise with the image. Add interest to a linear hallway by mixing up form, introducing curves or organic shapes.
- Shelving: When styling shelves, don't feel obliged to fill them all; focus on styling just a few areas.
Technical and Art Direction Tips
- Use Natural Light: Use all natural daylight when shooting.
- Open Windows/Doors: Having doors and windows open gives a sense of fresh air and ventilation.
- Balance Reality and Formality: Maintain a balance by working in a little bit of reality (in the example image, the old bit of string tied to hold a window open remained in the shot).
Working with Stylists and Clients
- Choose the Right Stylist: When looking to hire a stylist, make sure you like the imagery that they are creating as all stylists have a distinct style. You’ll want to work with someone who gets your style.
- Consider Cost-Effectiveness: Stylists tend to cost a lot less than photographers, and most photographers prefer working with a professional stylist. If you are paying around £1,000 for a photographer, an extra £400–£500 for a stylist is a “no-brainer”: it takes pressure off the designer who can deal with the clients, and helps the photographer allowing them to do their best work. Perhaps working a bit later in the day because of the extra hands at clear up time.
- Briefing the Stylist: Try to find a stylist you click with, send them imagery of the project, and ask if they are happy to style it for you.
- Prop Budgeting Conversation: If a project is empty, have an honest conversation with the stylist about props and whether you are going to pay them for a half-day prop and returns.
- DIY Prop Solution: If the budget is low, a stylist can organise a list of nice, affordable props (e.g., from Zara and H&M) for the designer to order and return themselves, saving the stylist's time.
- Pre-Shoot Visit: A pre-shoot visit is generally not necessary for the stylist, provided the designer supplies pictures from lots of different angles and has an idea of what they want to shoot.
- Shoot Efficiency: A stylist can help maximise the number of photographs taken by setting up one section while the photographer is shooting another, staying ahead of the team.
- Workflow on the Day: The photographer decides the first room based on light; then the stylist should step in and choose which area will take the longest to set up and choose to style that area first, ideally getting the bulk of the room styled before photography begins.
- Diplomacy in Depersonalisation: When removing personal items, take photos of the original setup so you know how to put everything back. Keep emphasising to clients that you are creating an image for marketing, not a true snapshot of their life. If an object is an aesthetic problem, take it out when the clients are not there.
- Legal Permissions for Art: If you have art in the shot, you must make sure the artist agrees to it being photographed or you have to take it out.
- Personal Branding: Get a couple of portraits of yourself during the shoot, even if it only takes 10 minutes, because people love seeing you in your projects. For things like Instagram posts, you could position yourself to one side to allow space for a caption. Consider taking a couple of outfits to maximise the photography opportunity.
- Behind-the-Scenes Video: This could be a great opportunity too for B-roll video for Instagram (e.g., you quickly jumping in to fluff up a cushion or carry books in between shots with the photographer).
Sam was kind enough to give us a discount code for her colour course 'Room Colour Made Easy', the code is: JULIALOVESCOLOUR
And, if you’re interested in working with Sam, you can also view her work and contact her on Instagram.
Receive my quick-to-read weekly newsletter...
Sign up for the Hothouse Newsletter: find out what's coming up, and keep up with recent webinars, blogposts, videos, and other events - all focused on excellence in interior design practice.
We hate SPAM. We will never sell your information, for any reason.
